
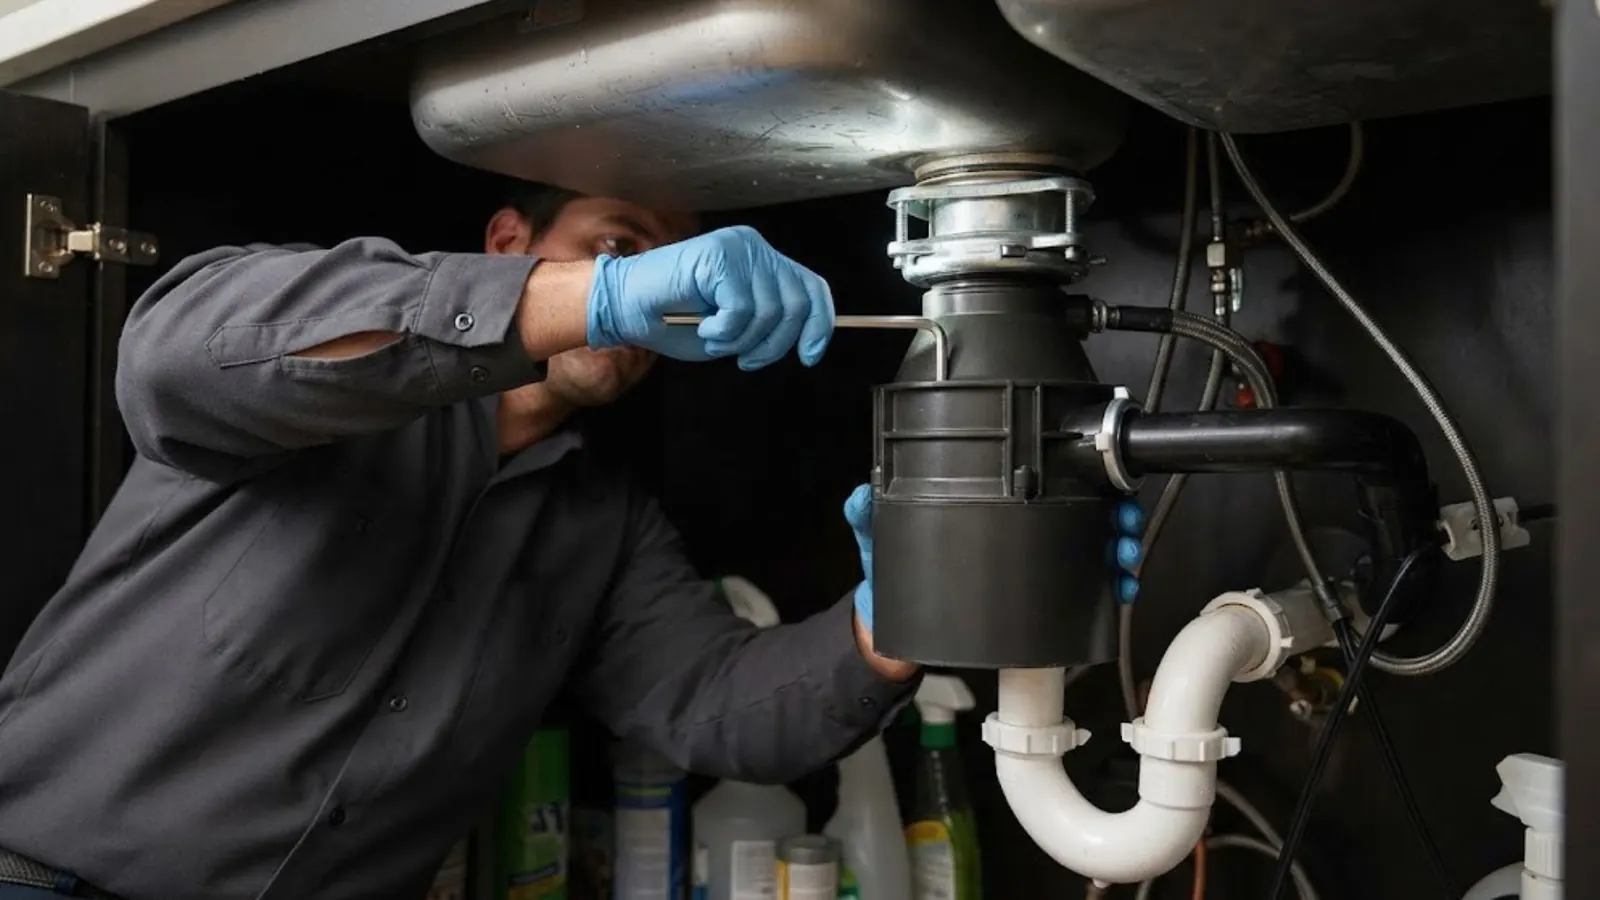
Start by naming the job: swap, upgrade or first install
The word install covers three very different jobs. A like-for-like swap reuses the mounting ring, the power cord or hardwired connection and the drain geometry that already work. An upgrade to a larger motor changes the weight and sometimes the trap height. A first-time install adds a sink opening size check, a new drain outlet, and usually a new electrical source.
Pick your row in the table before you buy anything. The row tells you which parts to expect and how much of the work is realistic for you.
| Situation | What changes under the sink | Realistic as a DIY job? |
|---|---|---|
| Same-size swap, existing outlet and plug | Mounting ring is reused, drain elbow lines up, power already present | Yes for most handy homeowners. |
| Bigger motor in the same spot | Heavier body, possible trap height change, longer discharge tube | Often, if the cabinet space allows. |
| First install, sink has a drain but no power | New switch and outlet or hardwire box, flange hole check | Plumbing yes, wiring no. Hire a licensed electrician for the new circuit. |
| First install, sink drain is old or crooked | New trap arm and possibly a new wall stub | Call a licensed plumber. |
Lay out the parts and tools before you shut anything off
Having everything within arm's reach matters more than it sounds. Once the old unit is out, the sink drain is open to the cabinet and the clock is running on dinner.
- The new disposal with its mounting kit, including the gasket, fiber gasket and snap ring.
- Plumber's putty, a rubber disposal gasket, and a new discharge tube if the old one is cracked.
- A flathead screwdriver, a hammer or rubber mallet, and a basin wrench.
- A bucket and old towels, because the trap holds more water than you expect.
- A non-contact voltage tester so you can prove the circuit is dead.
- A short length of wire nuts and a cable clamp if the unit is hardwired.
Kill the power and prove it before you touch a nut
Turn the disposal switch off, then switch off the breaker that feeds it. Test the cord end or the junction box with a voltage tester. A dead tester on a live circuit is the most common way people get hurt on this job, so test the tester on a known live outlet first.
Most disposals plug into an outlet inside the sink cabinet. Unplug it. Hardwired units have a cover plate on the bottom of the unit that hides the black, white and green connections.
Pull the old unit and clean the sink flange
Put the bucket under the trap, loosen the slip nuts on the discharge tube, and let the water drain. Rotate the old unit's lower mounting ring to release it from the upper assembly. Support the weight as it comes free, because a mid-size motor can weigh over ten pounds.
Now look at the sink flange. Scrape off the old putty with a plastic scraper and wipe the sink opening dry. A new gasket on a dirty or pitted flange is the cause of most slow drips a few days after an install.
Mount the new unit and connect the power
Press a thin rope of plumber's putty under the new flange, seat it in the sink opening, and tighten the mounting assembly from below until the putty squeezes out evenly. Wipe off the excess. Attach the new unit to the mounting ring and turn the lower ring until it locks.
For a hardwired model, connect black to black, white to white and green to the ground screw with wire nuts, then close the cover plate. For a plug-in model, check that the cord reaches the outlet without tension and without touching the drain tube.
Drain, trap and the dishwasher inlet
Fit the discharge tube to the unit's side outlet with its gasket, then line it up with the trap arm. The trap needs a steady downhill run toward the wall. A flat run holds standing water and smells within weeks.
If a dishwasher drains through the disposal, the new unit has a small knockout plug inside the inlet stub. Punch it out with a screwdriver and a hammer, and fish the plug out of the chamber. Forgetting this step is the number one reason a dishwasher fills the sink after a first cycle.
The test run: what a good first minute looks like
Restore power, run cold water, and flip the switch. Listen for a smooth hum with no grinding or rattling. Feel along every joint with a dry paper towel for moisture. Run the dishwasher drain cycle for a minute to confirm no water backs up in the sink.
Check again after an hour and again the next morning. A drip that waits for pressure to build is easier to fix when it is one slip nut away than after it has swollen the cabinet floor.
Know when the job has left the DIY lane
Some situations call for a licensed professional even when the disposal itself is easy.
- There is no switch or outlet at the sink and the project needs new electrical wiring.
- The drain below the trap is slow, which means the new unit will back up on day one (see drain cleaning service)
- The trap arm has no downhill slope, or the wall stub is corroded.
- The old unit leaked for a long time and the cabinet floor is soft.
- The sink is a granite or composite model with a flange that does not match any standard kit.
Westborough, MA note: permits, the drain and your water
Plumbing permit rules vary, so ask the Westborough Building Department at Town Hall on West Main Street before you start. That call also tells you whether the disposal falls under the installation or only the repair category, which changes what gets inspected.
Westborough's water comes from nine groundwater wells and the Westboro Reservoir, according to MassDEP's source water assessment. The system adds fluoride and uses corrosion control, so you do not need a special filter for a disposal. Check the department's current annual report if you want the latest treatment details.
Massachusetts plumbing work follows 248 CMR 10.00, the Uniform State Plumbing Code. The practical point: trap arm slope, trap height and venting around the sink matter more to an inspector than which brand of disposal you buy.
Plan the job around the slowest part, which is usually the drain below the trap, not the disposal itself. If you would rather skip the wrench work, garbage disposal repair and installation is a service we dispatch for homes in Westborough and neighbors such as Northborough and Southborough. A licensed plumber can usually finish the swap in a single visit and leave the cabinet dry.
Garbage disposal installation: questions answered
You can do the plumbing yourself, but the new outlet or hardwire connection should be run by a licensed electrician. A switched outlet inside the cabinet or a wall switch near the sink is the usual layout. Moisture and a metal sink make a bad wiring job dangerous.
A same-size swap usually takes two to three hours for a careful first-timer, including cleanup. A first install with new wiring and a new trap can fill a day because the electrical and plumbing steps have to be done in sequence.
The most common cause is the knockout plug that was never punched out of the dishwasher inlet. The second cause is a dishwasher hose without a high loop. Both are quick fixes once you find them.
Turn the power off and insert the hex wrench that came with the unit into the bottom center socket. Work it back and forth to free a jammed ring, then press the reset button on the underside. If it jams again right away, something solid is stuck in the chamber.
Start with the Westborough Building Department at Town Hall, 34 West Main Street. Permit rules vary by job type, and the department can tell you whether a like-for-like swap needs a permit or only a new install does.
Want a licensed plumber to look at it? Call (508) 389-4045
Plumbing problem in Westborough?
Call dispatch any hour and get a clear price before work starts.